DIY Stump Removal
Equipment & Process
Posted
April 7, 2022

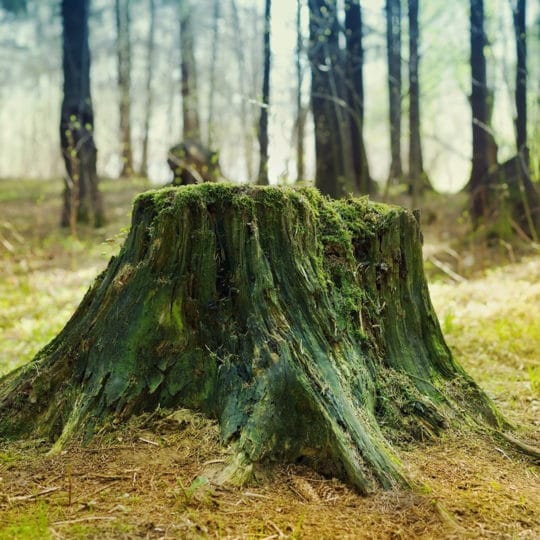
Now that spring has sprung, you’re about to head back out into the yard and garden. If you’ve removed any trees over the winter, you may have some stumps to contend with. You may even find a few hidden ones if you’ve decided to reconfigure your garden. Use this handy DIY stump removal guide to help gather the right equipment and prepare for the process.
DIY Stump Removal Equipment
If you’ve had trees removed and left the stumps, you may decide it’s time to remove them now that you’re planning for this year’s planting season. There are safe ways of handling this project yourself, but the process may take a while depending on what method you use. You can rent a stump grinder and remover from your local hardware store, or go the more manual route. For this project, you’ll need the following equipment:
- Safety glasses
- Chainsaw
- Ax
- Drill
- Stump remover chemicals or Epsom salt
- Water
If you’re not familiar with how to use any of this equipment, it’s best to leave stump removal to the professionals. However, if you feel comfortable continuing then follow these simple steps.
Manual Removal Process
If you decide to go the manual route, keep in mind that this isn’t a quick process. You’ll still have a stump in your yard for a few weeks at least, so be sure to start this process in enough time to plant if that’s the plan.
- Trim. With a chainsaw or ax, cut as much of the top of the stump off as you can.
- Drill. Evenly drill vertical holes about 12 inches deep every six to eight inches around the perimeter of the stump. Stay about three inches away from the edge. Match these holes with another at a 45-degree angle. These holes help act as vents when/if you get to the burning stage.
- Pour. Add about three ounces of stump removal formula to the holes. If you’re using granules, add water to help the chemicals soak in. For best results, always follow the directions on the product you’ve purchased. You can also try a more natural approach by using Epsom salt instead of chemicals.
- Wait. It may take four to six weeks for the chemicals to fully absorb. You’ll know it’s working when the stump becomes soft and spongey.
- Chop. Once the stump is soft enough, it will be easier to break up the rotten wood with an ax. You’ll also want to get rid of as many of the roots as possible.
If this method doesn’t work, you can also try pouring kerosene into the holes. You’ll still have to wait a few weeks for the liquid to penetrate the wood, but once it’s ready, set the stump on fire. Be aware that your stump could smolder for days, so you need to take the proper precautions to ensure this is a safe environment. Before you pour any flammable liquids, clear the area of leaves and debris, then cover the stump with chicken wire to prevent anything from getting too close. Keep a hose nearby in case of emergency.
Professional Stump Removal
The easiest and safest route to stump removal is having a professional handle the process. They have the equipment to get the job done quickly and easily. You don’t have to wait for weeks or wonder if you’re harming the environment with chemicals or fire. Contact Elite Tree Care for more information on the best methods of stump removal and get back to your garden plans quickly.

Download Your FREE Tree Removal Guide
Even dedicated DIYers should think twice before taking on the task of tree removal. Our guide will help you decide whether to hire a tree service and how to get the most value for your money.